What is Network Attached Storage (NAS) and why do you need one? Maybe you don’t… but maybe you do. If you use cloud storage for everything in your life (iCloud for your photos, Google Drive for your documents, [insert your favorite app/storage here], etc.), I’d say you probably don’t. However, if you’re concerned about your privacy in the cloud and want to reel some things back under your own control, you have to have somewhere to store all those photos, videos, documents, and data in general. Or you’re worried about having all of your files spread over a limitless sea of external solid state drives (SSDs) or computers in your home. A one terabyte drive on your laptop may not cut it, and what happens if that drive fails? You wouldn’t want to lose all of those precious pictures of your family, kids, and the five terabytes of carefully curated hilarious memes and gifs, right? I think you get the point. A NAS can help with this and there are many, many options that support a vast range of use cases. I’ll go through what I chose and my decision factors going into it. Here’s a run down of what I bought:
Note: The below list contains affiliate links. If you choose to purchase items from those links, I will make a commission on those sales at no additional cost to you. That being said, the below products are items that I researched and purchased on my own and have worked well for my particular use case. Therefore, if I’m recommending something here, it is because it is a solution that has worked well for me and I believe it will work well for you!
- 1x : ($299) Synology 2 Bay NAS DiskStation DS220+ (Diskless)
- 2x : ($82.97/ea) SeaGate IronWolf 4TB HardDrive
Total Cost: $464.94
Of course you can go with bigger drives, different brands, etc., but these are the ones I bought that were the right fit for us in our particular use case: protecting photos and files.
But before we get too far, some quick info for if you want to get started down the same road.
Is a NAS right for you?
First and foremost, if you don’t see value in having more control over your data, more storage space, and redundancy, don’t buy a NAS. Stick with whatever you feel is working for you now. If it isn’t broke, don’t fix it. But, if you do see value in any of those things, it’s time to consider a NAS solution that works for you. My primary goal was to have some data redundancy for all my family’s photos. My wife has pictures literally everywhere, on old laptops, of course her phone, old phones; they’re all over the place. And so do I. So knowing that one day those devices may no longer boot up, or a drive may fail, and we could lose those memories, I wanted some peace of mind knowing they’re protected from loss. I’m also a paranoid IT guy who still doesn’t fully trust the cloud. Call me a hypocrite though, because I still use it. Doesn’t mean I fully trust it. Having my own NAS makes me feel like I have a bit more control over the things that are truly important though.
Taking the plunge… Get the NAS!
If you decide to follow my simple setup from the products above, it’s incredibly easy to get everything set up. As easy as:
- Take the Synology DS220+ out of the box
- Take the two Seagate Ironwolf Hard Drives out of their boxes
- Insert the drives into the bay trays that come with the DS220+ and slide them into the NAS
- Hook up an ethernet cable to your router/switch
- Hook up the power
- Open a web browser and navigate to https://find.synology.com
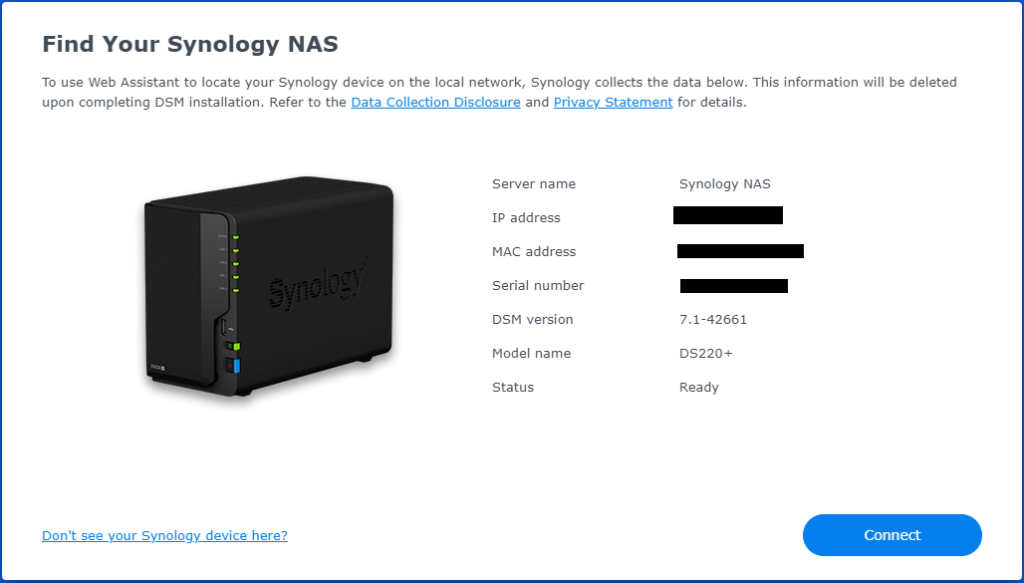
The first time you connect, there’s a wizard that will guide you through setting up your drives, creating your first drive volumes and shared folders. You’ll also be able to choose your Redundant Array of Independent Disks (RAID) configuration. I chose the Synology Hybrid RAID (SHR) (see below) as it seemed to be geared towards beginners (which I am in this space) and it offered what I needed: at least a 1 drive fault-tolerance. In other words, if one drive fails, I still have all of my data and photos.

Once you’re all set up, you should see something similar to the below:
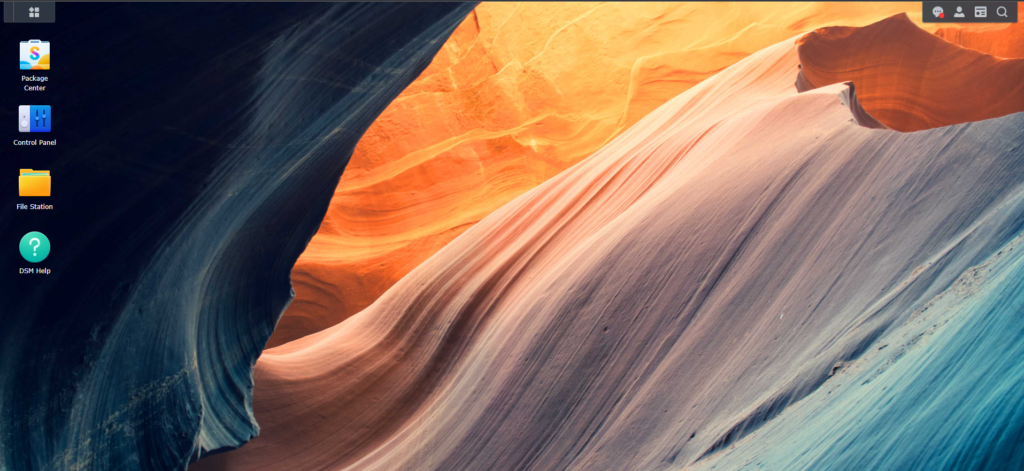
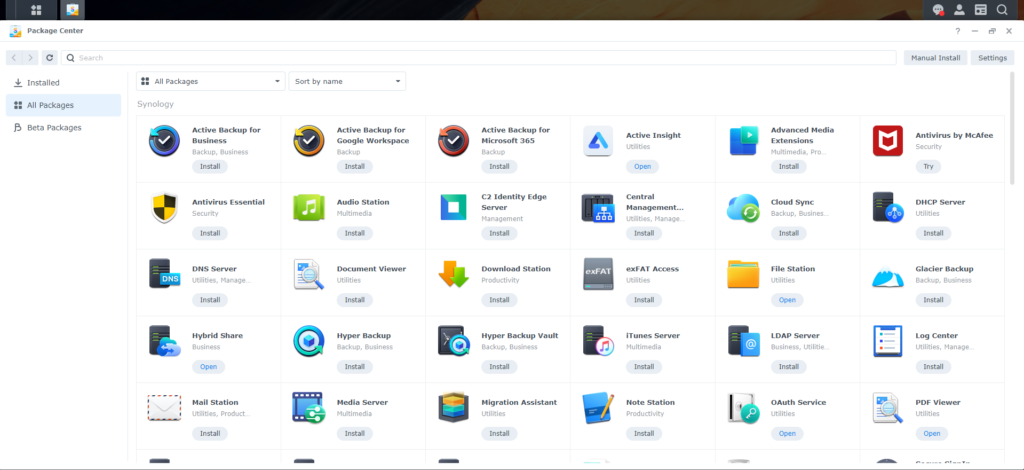
If you click on the Package Center, you’ll be bombarded with all of the different packages you can install; the possibilities seem endless! I’ve only scratched the surface here, so I’ll only elaborate on the Photos and File Station packages below.
Storing Photos
My primary package of choice was Synology Photos:

Once you install this package and set it up, you can then download the app for your mobile devices (if you use the link and scroll near the bottom, there are QR codes that will take you straight to the app in your given app store). If you have photos on your computer that you want to store, it’s as simple as clicking the “open” button on the Synology Photos package (listed above) and finding the “+” button to upload.
If you want to have the power of having your mobile photos sync straight to your new NAS, then in the app, tap on “More” in the bottom right corner and there’s an option for setting up photo backups.
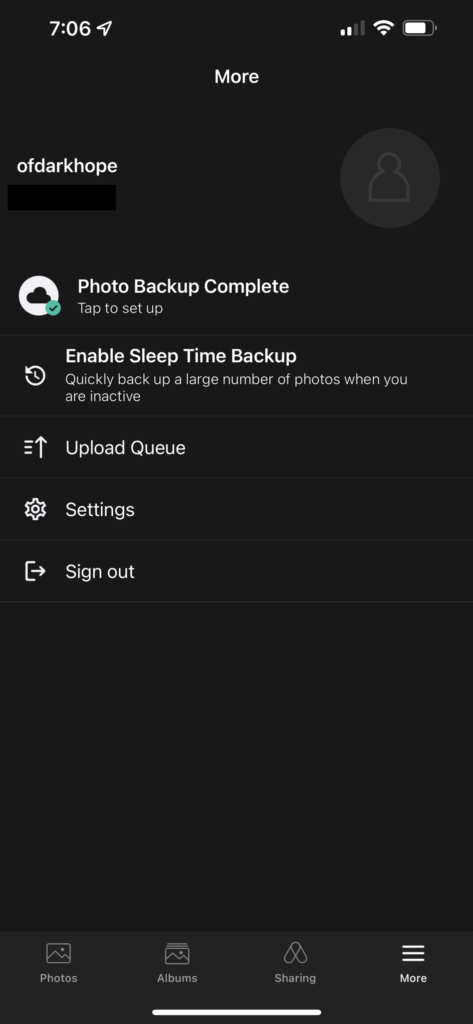
I currently have mine configured to backup my photos anytime my phone is connected to my home network. It syncs in the background continuously as long as your phone is on and the app hasn’t been completely shut down. I’ve seen no performance issues so far, and I’ve transferred over 7000 photos. But more importantly, every photo I take/save on my phone is now being copied over to a redundant drive automagically; a redundant drive (I call it our personal cloud) that I control. So now I can keep my phone’s storage in check knowing that I can delete photos from my phone without losing them forever. You can also move them manually using the app.
Storing Files
Of course you have files you want to back up too. You can use the “File Station” package to upload and manage files you’ve stored:
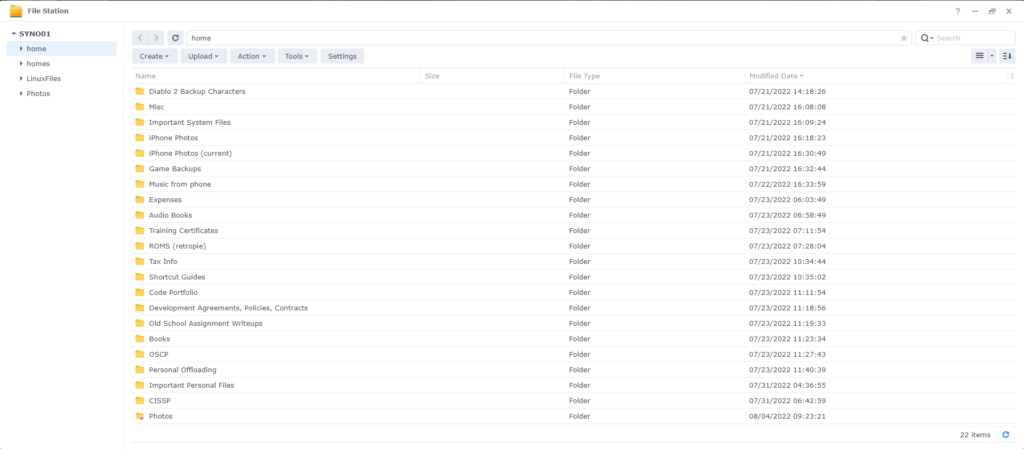
If you don’t have Diablo 2 backup characters, I’m not sure we can be friends… (jk!). You can even configure the NAS to be available to your computer via a mounted network drive in Windows, Linux, or Mac. Here’s an example from my Windows machine:

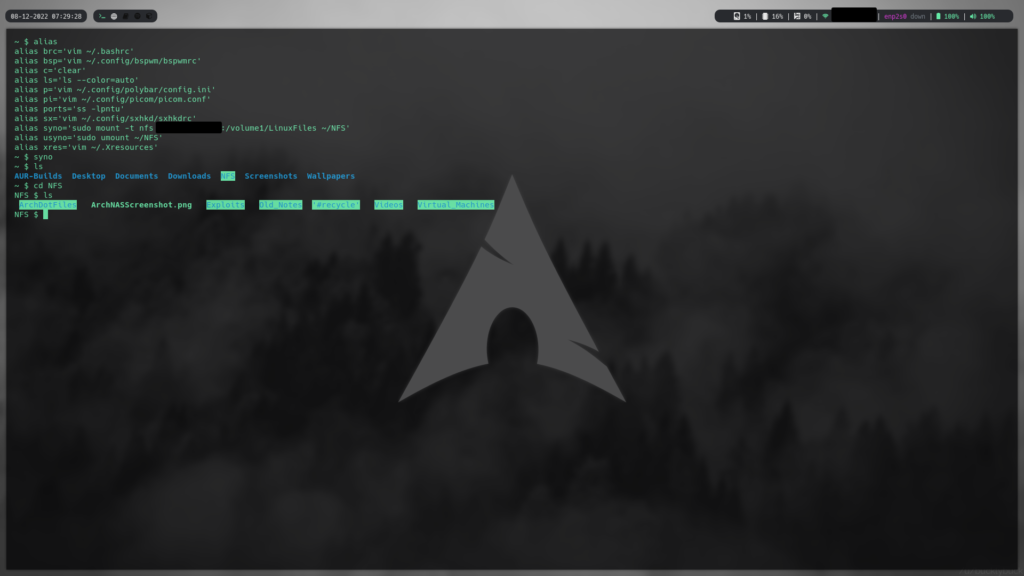
And an example from my Arch Linux machine (yeah, I’m one of those jerks, “I use Arch, BTW” — albeit a very new Arch user). In the below shot (for anyone not familiar with Linux), I’m using an alias that I created to handle the connection (alias “syno”). The command is: sudo mount -t nfs [ipaddress]:/volume1/LinuxFiles ~/NFS. I’ll make a post about my Arch experiences, configuring the environment (a.k.a., for you cool kids, “ricing it”), etc. For now though, just know it wasn’t too bad connecting to the NAS from whatever device I wanted.
Conclusion
The Synology DS220+ is a perfect fit for me, and I think if you’re looking for a decently priced, easy-to-use/configure option, it’s a solid choice. There are many options and things I didn’t talk about here, as I want this particular page to showcase that if you have ~$500 and want a great little NAS overloaded with features, you can’t go wrong with the DS220+.
